Quadient AP uses WinSCP to sync with the following ERP systems:
- Clubessentials
- Jonas Club
- Northstar
- Unique integrations may also use WinSCP.
Follow the steps below to install and connect WinSCP to Quadient AP.
Downloading and installing WinSCP
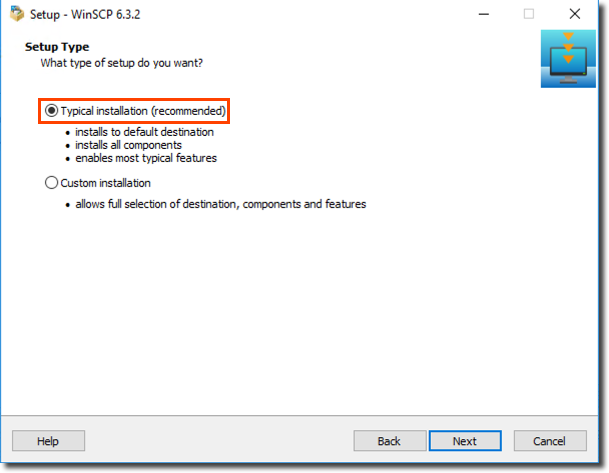
Click the link here to download WinSCP. Once downloaded, double-click on the WinSCP-Setup.exe file to begin installing it. 
Select the Commander User Interface style.
When the installation is completed, click Finish to exit the dialog and open WinSCP.
Configuring WinSCP
In WinSCP's Login dialog, click New Site and enter the following information in the Session box:
- File Protocol - SFTP
- Host Name - sftp.beanworks.ca
- Port Number - 22000
Your user name and password are specific to your company and will be provided by Quadient AP. Each Legal Entity has it's own user name and password.

Click Save to save the Legal Entity's information. In the dialog, enter the Legal Entity's name in the Site Name field so you can easily locate it. Select the folder for the Legal Entity and check off the check boxes as preferred.
Repeat the above steps for all Legal Entities. To log into an Entity, select it from the list on the left and click Login.

Was this article helpful?
That’s Great!
Thank you for your feedback
Sorry! We couldn't be helpful
Thank you for your feedback
Feedback sent
We appreciate your effort and will try to fix the article