The ability to add backup pages is available in both the invoice and purchase order module. You can also add an additional page to the invoice and purchase order. There is no restriction on the number of pages you can add to the invoices and purchase orders.
PLEASE NOTE
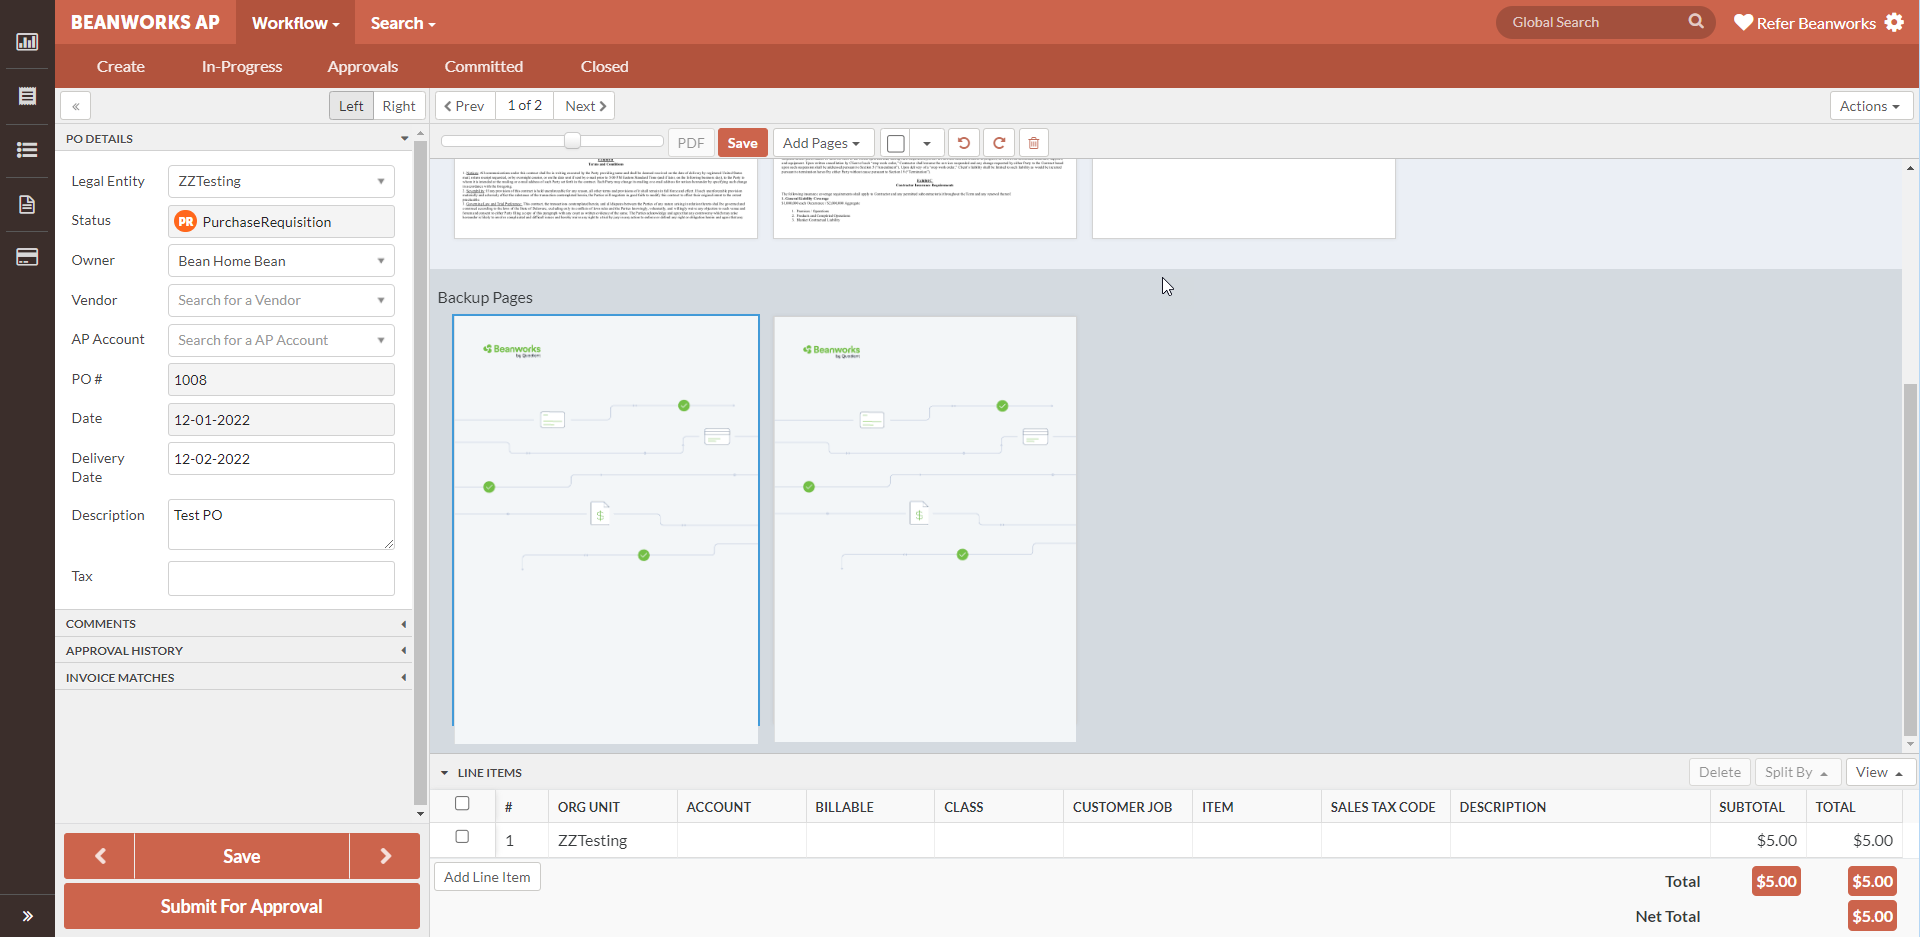
Backup pages can be added anytime during the workflow. The invoice and purchase order can either be in an editable statuses (InProgress [IP], Purchase Requisition [PR], Reset [R], Reject [RE] or non editable statuses (Pending Approval [PA], Approved [A], Purchase Order [PO], Closed [CL], Exported [EX]).
Back up pages can be added from within the details view of the invoice and purchase order.
Backup pages are not included in the reports unless you explicitly select for them to appear in the reports.
Additional pages added to invoices and purchase orders will appear on all the reports and will be in the same order they are in the details view.
ADDITIONAL FEATURES
Rotate backup pages. A backup page can be rotated irrespective of the status of the invoice or purchase order.
Reorder backup pages. A backup page can be rotated irrespective of the status of the invoice or purchase order.
Delete backup pages. A backup page can be deleted only when the invoice or purchase order is in the editable status.
HOW IT WORKS
STEP 1: Open the invoice or purchase order details
Select the purchase order by double clicking on the purchase order line or clicking on the pencil icon.
STEP 2: Add Pages
Click on 'Add Pages' --> Backup
You will have an option to add the backup pages either 'From Computer' or 'From Arrivals'.
From Computer : Will allow you to add files or drag and drop files from your computer.
From Arrivals : Will allow you to add images from the 'Crete' tab on the invoice module.
STEP 3: Save your selection
Once you have selected the backup image(s), please click on 'Upload & Save'.

REORDER BACKUP PAGES (optional)
Once you have uploaded the additional backup pages, you can reorder them by dragging and dropping each page between the two different sections or within a section. Please make sure to click on 'Save' after you have moved the pages.
TIP: For easy view of all images, you can resize the images using the image slider.
ROTATE BACKUP PAGES (optional)
- The option to rotate backup pages does not appear unless you have selected a single or multiple pages.
- You have the option to rotate single or multiple pages. You can select a single page by clicking on the page.
- You can select multiple pages by holding the control key and clicking on each image. Multiple pages can also be selected by clicking on the checkbox or selecting the option from the dropdown.
- After you have selected the pages you want to rotate, you will notice that the rotation icons appear in the menu.
- After you have successfully rotated an image, please click 'Save' to save the changes.
DELETE BACKUP PAGES (optional)
You can delete a single or multiple backup pages by selecting the pages and clicking the delete icon. Please select the option to permanently delete the image.
Was this article helpful?
That’s Great!
Thank you for your feedback
Sorry! We couldn't be helpful
Thank you for your feedback
Feedback sent
We appreciate your effort and will try to fix the article