Quadient AP’s NetSuite integration uses a Token-based Authentication method. This guide covers setting up NetSuite for Token-based Authentication and the required permissions to successfully connect with Quadient AP.
Important notes
Changes to role permissions take between 30 and 60 minutes to take effect. If you receive an error from NetSuite indicating Permission Error: Please add List→Documents permission and update the required permission, there will be a delay before you see the change.
Other than Account ID, all other credentials are only displayed once in the NetSuite UI for security purposes. Make sure to save them somewhere during the onboarding meeting.
Ensure that Token-Based Authentication for Netsuite is enabled. Follow the steps in this guide here to enable the feature.
Ensure that SOAP Web Services for Netsuite is enabled. Follow the steps in this guide here to enable the feature.
Enable Token-Based Authentication for NetSuite and Quadient AP
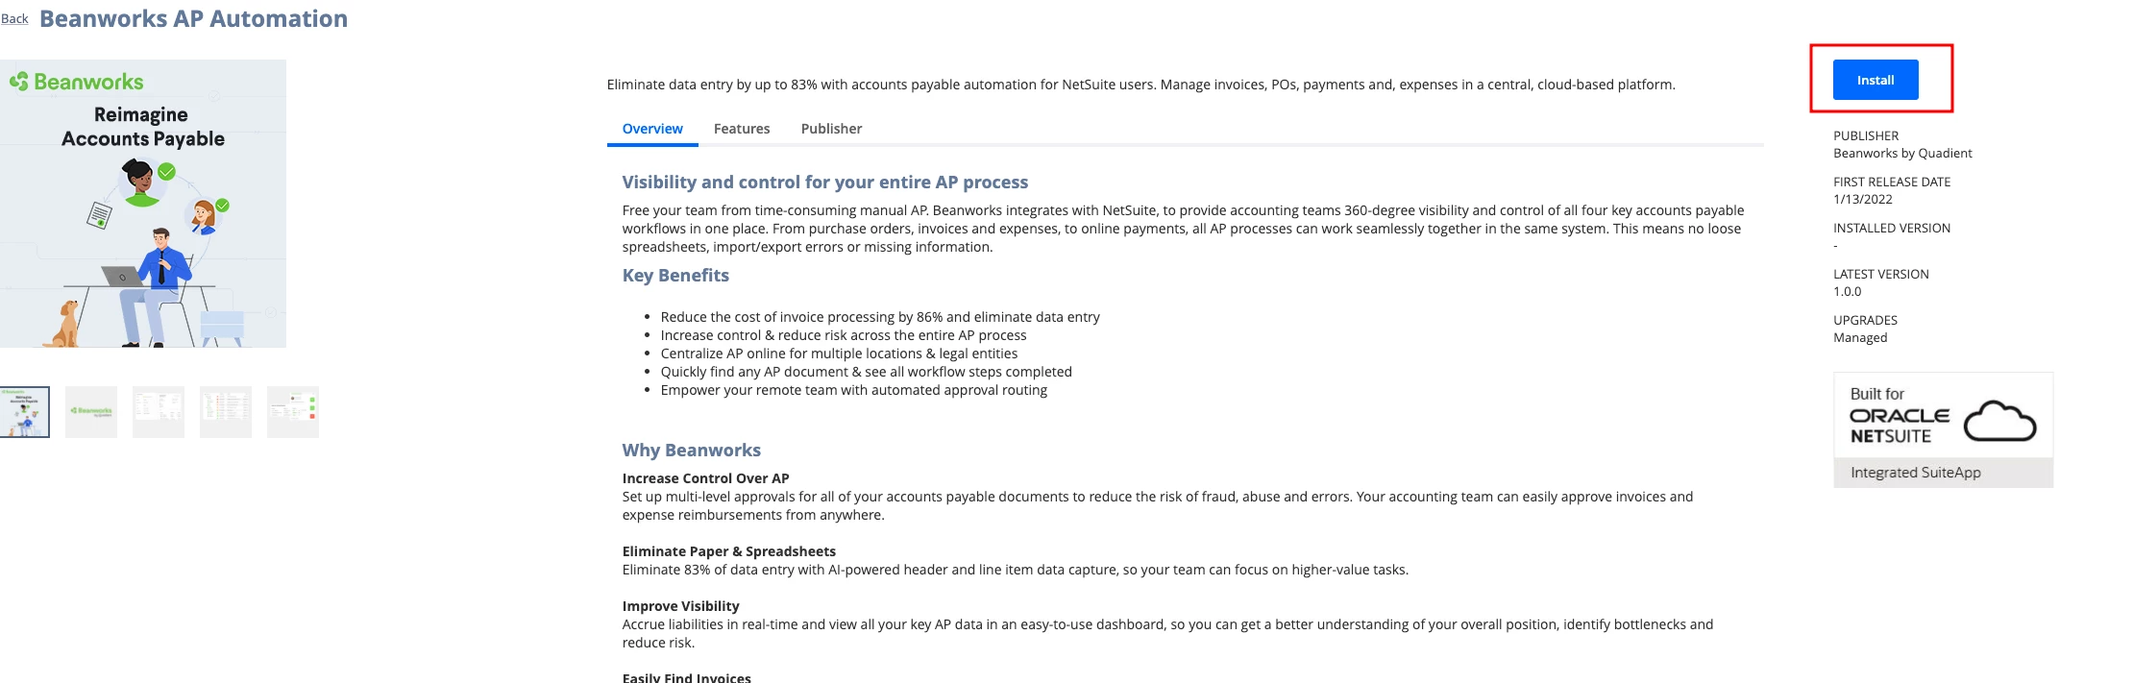
Install Quadient AP (Beanworks) SuiteApp in NetSuite
Every 3rd party application communicating with NetSuite requires an integration record, which identifies the application in NetSuite's system. Quadient AP uses a SuiteApp to manage the integration record. In NetSuite, navigate to the SuiteApps menu. Search ‘Beanworks’ to locate and install our SuiteApp. Then navigate to Manage Integrations, and verify the Beanworks Production Integration record is imported and enabled.

Create a Token role
Search for Manage Roles and select 'New Role'. In Permissions > Setup, add the following permissions:
User Acess Token: Full
Access Token Management: Full
SOAP Web Services: Full
The Token role must be added to a user in NetSuite to authorize the sync with Quadient AP. You can create a specific NetSuite user for this token role, or add it to an existing Admin user. Navigate to Access > Roles to add the Token role to a user.
Create Access Token
Search for Tokens, and select New Access Token. In the dropdown menus select the Integration Record, User with Token Role, and the Token Role, and press save. Once saved, you will see a Token ID and Token Secret generated, save these for later in the integration process.
Token Role permissions
The Quadient AP Token Role requires some specific permissions to ensure a successful and smooth syncing process. The required permissions are below:
Transaction Permissions
Permission | Level |
|---|---|
Bill Purchase Orders | View |
Bills | Full |
Pay Bills | View* (If using the Payments module in Quadient AP, please give FULL access to this permission) |
Posting Period on Transactions | Full |
Sales Order | View |
| Enter Vendor Credits | Full |
Sales Order Approval | View |
Vendor Payment Status | View |
Vendor Online Bill Pay Status | View |
View Payment Events | View |
List Permissions
Permission | Level |
|---|---|
Accounts | View |
Bill of Materials Inquiry | View |
Classes | View |
Currency | View |
Departments | View |
Locations | View |
Subsidiaries | Full |
Vendors | View |
Setup Permissions
Permission | Level |
|---|---|
Access Token Management | Full |
SOAP Web Services | Full |
User Access Tokens | Full |
Accounting Lists | Full |
Manage Accounting Periods | Full |
Override Period Restrictions | Full |
Forms
Set the Quadient AP Token Role's preferred form to Standard Vendor Bill.

Connect Quadient AP and NetSuite
In Quadient AP, navigate to Settings - ERP Management and enter the information:
- Account
- This is your NetSuite Account ID. This can be located in Netsuite under Setup → Company → Company Information
- Consumer Key
- Consumer Secret
- Token ID
- Token Secret
Your Customer Success Manager will provide the Consumer Key and Consumer Secret during the integration. If you do not have these credentials to hand, please reach out to our Support Team.

You will need to reach out to Beanworks to have the API Sync Profile created for your Legal Entity(s). Please contact your Customer Success Manager or our Support Team to do this. Continue following this guide once the API Sync Profile(s) is created.
Enabling SmartSync
Once connected, click SmartSync on the left side. Select your company from the Legal Entity dropdown, and click Sync. This will sync all list items from NetSuite into Quadient AP.

Once the initial sync is completed, use Partial Sync instead of Full Sync to sync over only newly added list items. Use the Sync Schedule feature to create a schedule of automatic syncs.
Was this article helpful?
That’s Great!
Thank you for your feedback
Sorry! We couldn't be helpful
Thank you for your feedback
Feedback sent
We appreciate your effort and will try to fix the article